Languages
[Edit]
EN

Paint.NET - how to add border to picture

4 points
Created by:
Lia-Perez
565

In this article, we would like to show you how to add a border to the picture in Paint.NET.

1. Paste selected picture into Paint.NET and crop it to the selection using CTRL + SHIFT + x.

2. Select Shapes 

Paint.NET - Select Shapes

3. Disable antialiasing

Paint.NET - Disable Antialiasing

4. Set the following properties to:

  • Brush width: 1,
  • Style: Solid,
  • Fill: Solid Color,
  • Optionally: set Color of the border with Color Picker tool.
Paint.NET - Border properties
Paint.NET - border properties

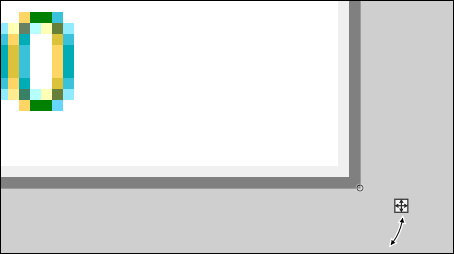
5.Zoom in your picture and start drawing the border from the top-left corner and without cancelling the drawing go to the right-bottom corner to end the drawing.

Note:

You can easily scroll the picture horizontally using SHIFT + mouse wheel.

Gray border for white background example:
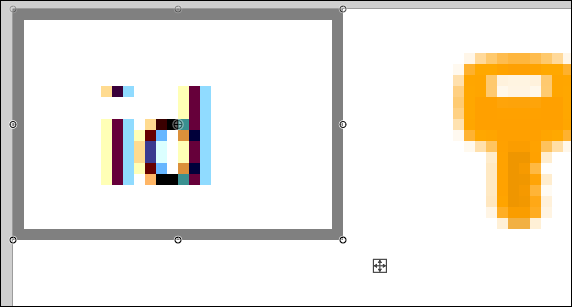
Paint.NET - start drawing border
Paint.NET - end drawing border
Donate to Dirask
Our content is created by volunteers - like Wikipedia. If you think, the things we do are good, donate us. Thanks!
Join to our subscribers to be up to date with content, news and offers.

Dirask - content writing

Native Advertising
🚀
Get your tech brand or product in front of software developers.
For more information Contact us
Dirask - we help you to
solve coding problems.
Ask question.

❤️💻 🙂

Join