EN
Paint.NET - how to add border to picture
4
points
In this article, we would like to show you how to add a border to the picture in Paint.NET.
1. Paste selected picture into Paint.NET and crop it to the selection using CTRL + SHIFT + x.
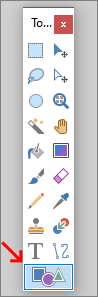
2. Select Shapes
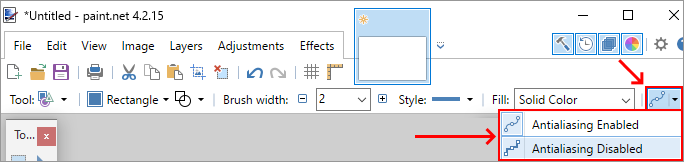
3. Disable antialiasing
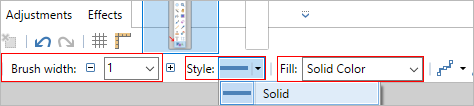
4. Set the following properties to:
- Brush width: 1,
- Style: Solid,
- Fill: Solid Color,
- Optionally: set Color of the border with Color Picker tool.
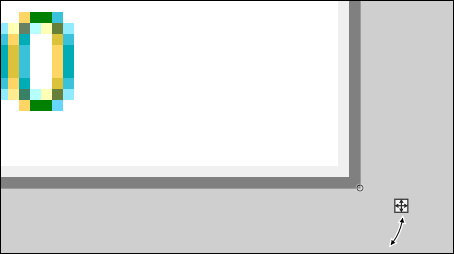
5.Zoom in your picture and start drawing the border from the top-left corner and without cancelling the drawing go to the right-bottom corner to end the drawing.
Note:
You can easily scroll the picture horizontally using
SHIFT+ mouse wheel.
Gray border for white background example: