Languages
[Edit]
EN

Paint.NET - how to add border to picture

4 points
Created by:
Lia-Perez
505

In this article, we would like to show you how to add a border to the picture in Paint.NET.

1. Paste selected picture into Paint.NET and crop it to the selection using CTRL + SHIFT + x.

2. Select Shapes 

Paint.NET - Select Shapes

3. Disable antialiasing

Paint.NET - Disable Antialiasing

4. Set the following properties to:

  • Brush width: 1,
  • Style: Solid,
  • Fill: Solid Color,
  • Optionally: set Color of the border with Color Picker tool.
Paint.NET - Border properties
Paint.NET - border properties

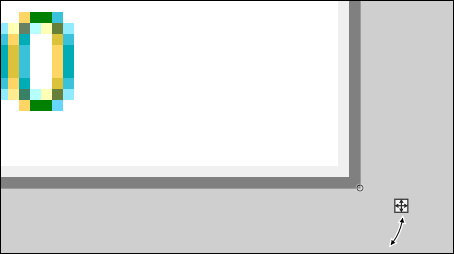
5.Zoom in your picture and start drawing the border from the top-left corner and without cancelling the drawing go to the right-bottom corner to end the drawing.

Note:

You can easily scroll the picture horizontally using SHIFT + mouse wheel.

Gray border for white background example:
Paint.NET - start drawing border
Paint.NET - end drawing border
Donate to Dirask
Our content is created by volunteers - like Wikipedia. If you think, the things we do are good, donate us. Thanks!
Join to our subscribers to be up to date with content, news and offers.

Paint.NET

Native Advertising
🚀
Get your tech brand or product in front of software developers.
For more information Contact us
Dirask - we help you to
solve coding problems.
Ask question.

❤️💻 🙂

Join